Written by Amanda Watson, Office Manager/Marketing Specialist (Portage, IN)
Fabulous design doesn’t have to take lots of time or an endless budget. In less than 5 hours and for less than $500, we turned a boring wall in our reception area into an architectural design feature that has transformed the entire space.
Since our Portage office moved to its new location in the Belmont Building, guests have been impressed by our open ceilings, curvy acoustical panels and glass walled private offices. However, when guests first walked into our office, they haven’t been able to get the powerful impact we envisioned when planning the space. Now, that’s all changed. Visitors to our office since Wednesday, August 27th are finally getting the first impression we sought.
With simple materials, a little time, and some crafty workmanship on the part of Holladay Construction Group Field Superintendent Joe Coar, we turned the boring wall in our reception into the main feature of our entire office. All it took was nails and screws, 11 pieces of reclaimed barn wood, black spray paint and silicone, and a wall that has been overlooked since we moved is now garnering notable compliments.
See the transformation below. We feel our feature wall really sets off the design of our reception area and, in truth, our entire office.
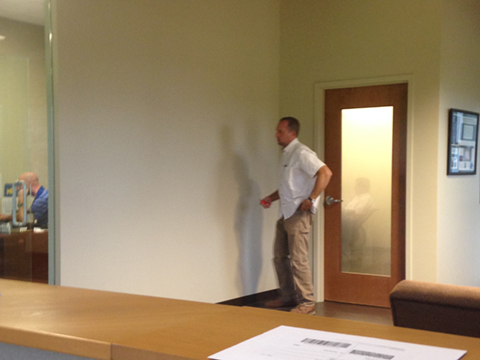
Step 1:
Get the wall ready. The before shot of our poor, boring wall is below (click on any photo to view a larger image). See Holladay Construction Group Field Superintendent Joe Coar staring at our blank wall deciding how best to start. Joe started by cutting off the base at the bottom of the wall.
Step 2:
Since we weren’t sure how the pieces would line up or how high the wall would go, we started by nailing a couple of longer reclaimed barn wood pieces, approximately 4 inches in width (created by trimming one of our 11 pieces into thirds) on either side of the feature wall. This ensured we’d have straight edges on both sides and that we wouldn’t damage the adjoining wall too much.
Step 3:
Measure twice, cut once. With our edge pieces in place, we started measuring how long each piece of barn wood would need to be and then cutting the pieces to fit. We used silicone on the back of each board and screws to install and keep them in place.

Step 4:
Since this is reclaimed barn wood, there were holes from knots, gaps in the boards and ends that were not even and straight. To help hide these imperfections, we spray painted black behind the boards to cover the gaps created between the boards and the knot holes. You can see one of the knot holes before we spray-painted in the photo above †‘, and the spray paint in action in the photo below †“.
Step 5:
Keep measuring, fitting, gluing and adding pieces to the wall.
Step 6:
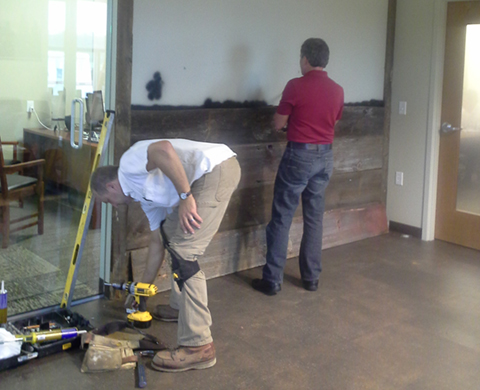
Get a buddy (or buddies) to help. While Joe installed the majority of the wall by himself, occasionally he would get help from some of the other members of the office. In the photo below, Holladay Construction Group Sr. Project Manager Scott Trueblood offers his assistance. We’d like to note that Scott spray painted the area behind the 5th board, which, as you can see in the photo below, he helped install.
In the photo below, Joe is getting expert assistance from Holladay Properties VP — Planning & Design, Ryan Kelly, who designed this wall feature, and our entire office. Great work, Ryan!

Step 7:
Continue adding pieces carefully to the wall, being sure to spray paint between the gaps and behind the knot holes and scratches in the boards.
Step 8:
We were extremely lucky that we ended up with the perfect end piece for our wall. We weren’t sure if we wanted the barn wood wall to go to the top of the wall or match the top of the glass wall, but in the end, the materials decided for us. When we added all of our whole barn wood pieces to the wall, we were left with a gap of about 4 inches from the top of our last board to the height of the glass wall. We had just enough left from the piece we trimmed in thirds to add it as the finishing piece to the top of the barn wood wall to make it even with the glass wall.
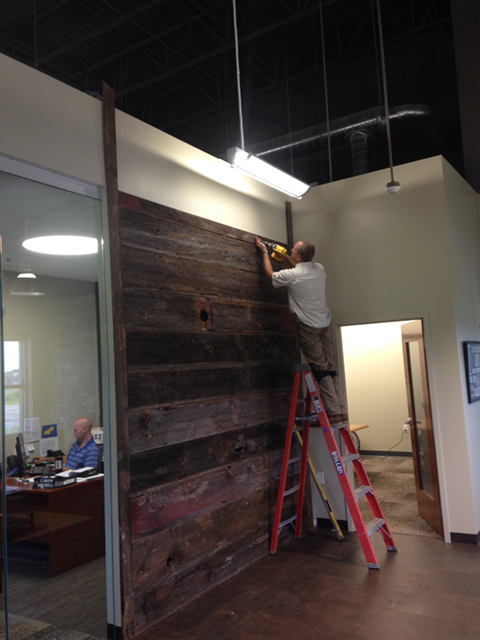
Step 9:
Measure the height of the wall to cut your side (trim) pieces to size. Remove the trim pieces, cut them to fit and then reinstall them to finish your wall. See the finished product in the photo below.

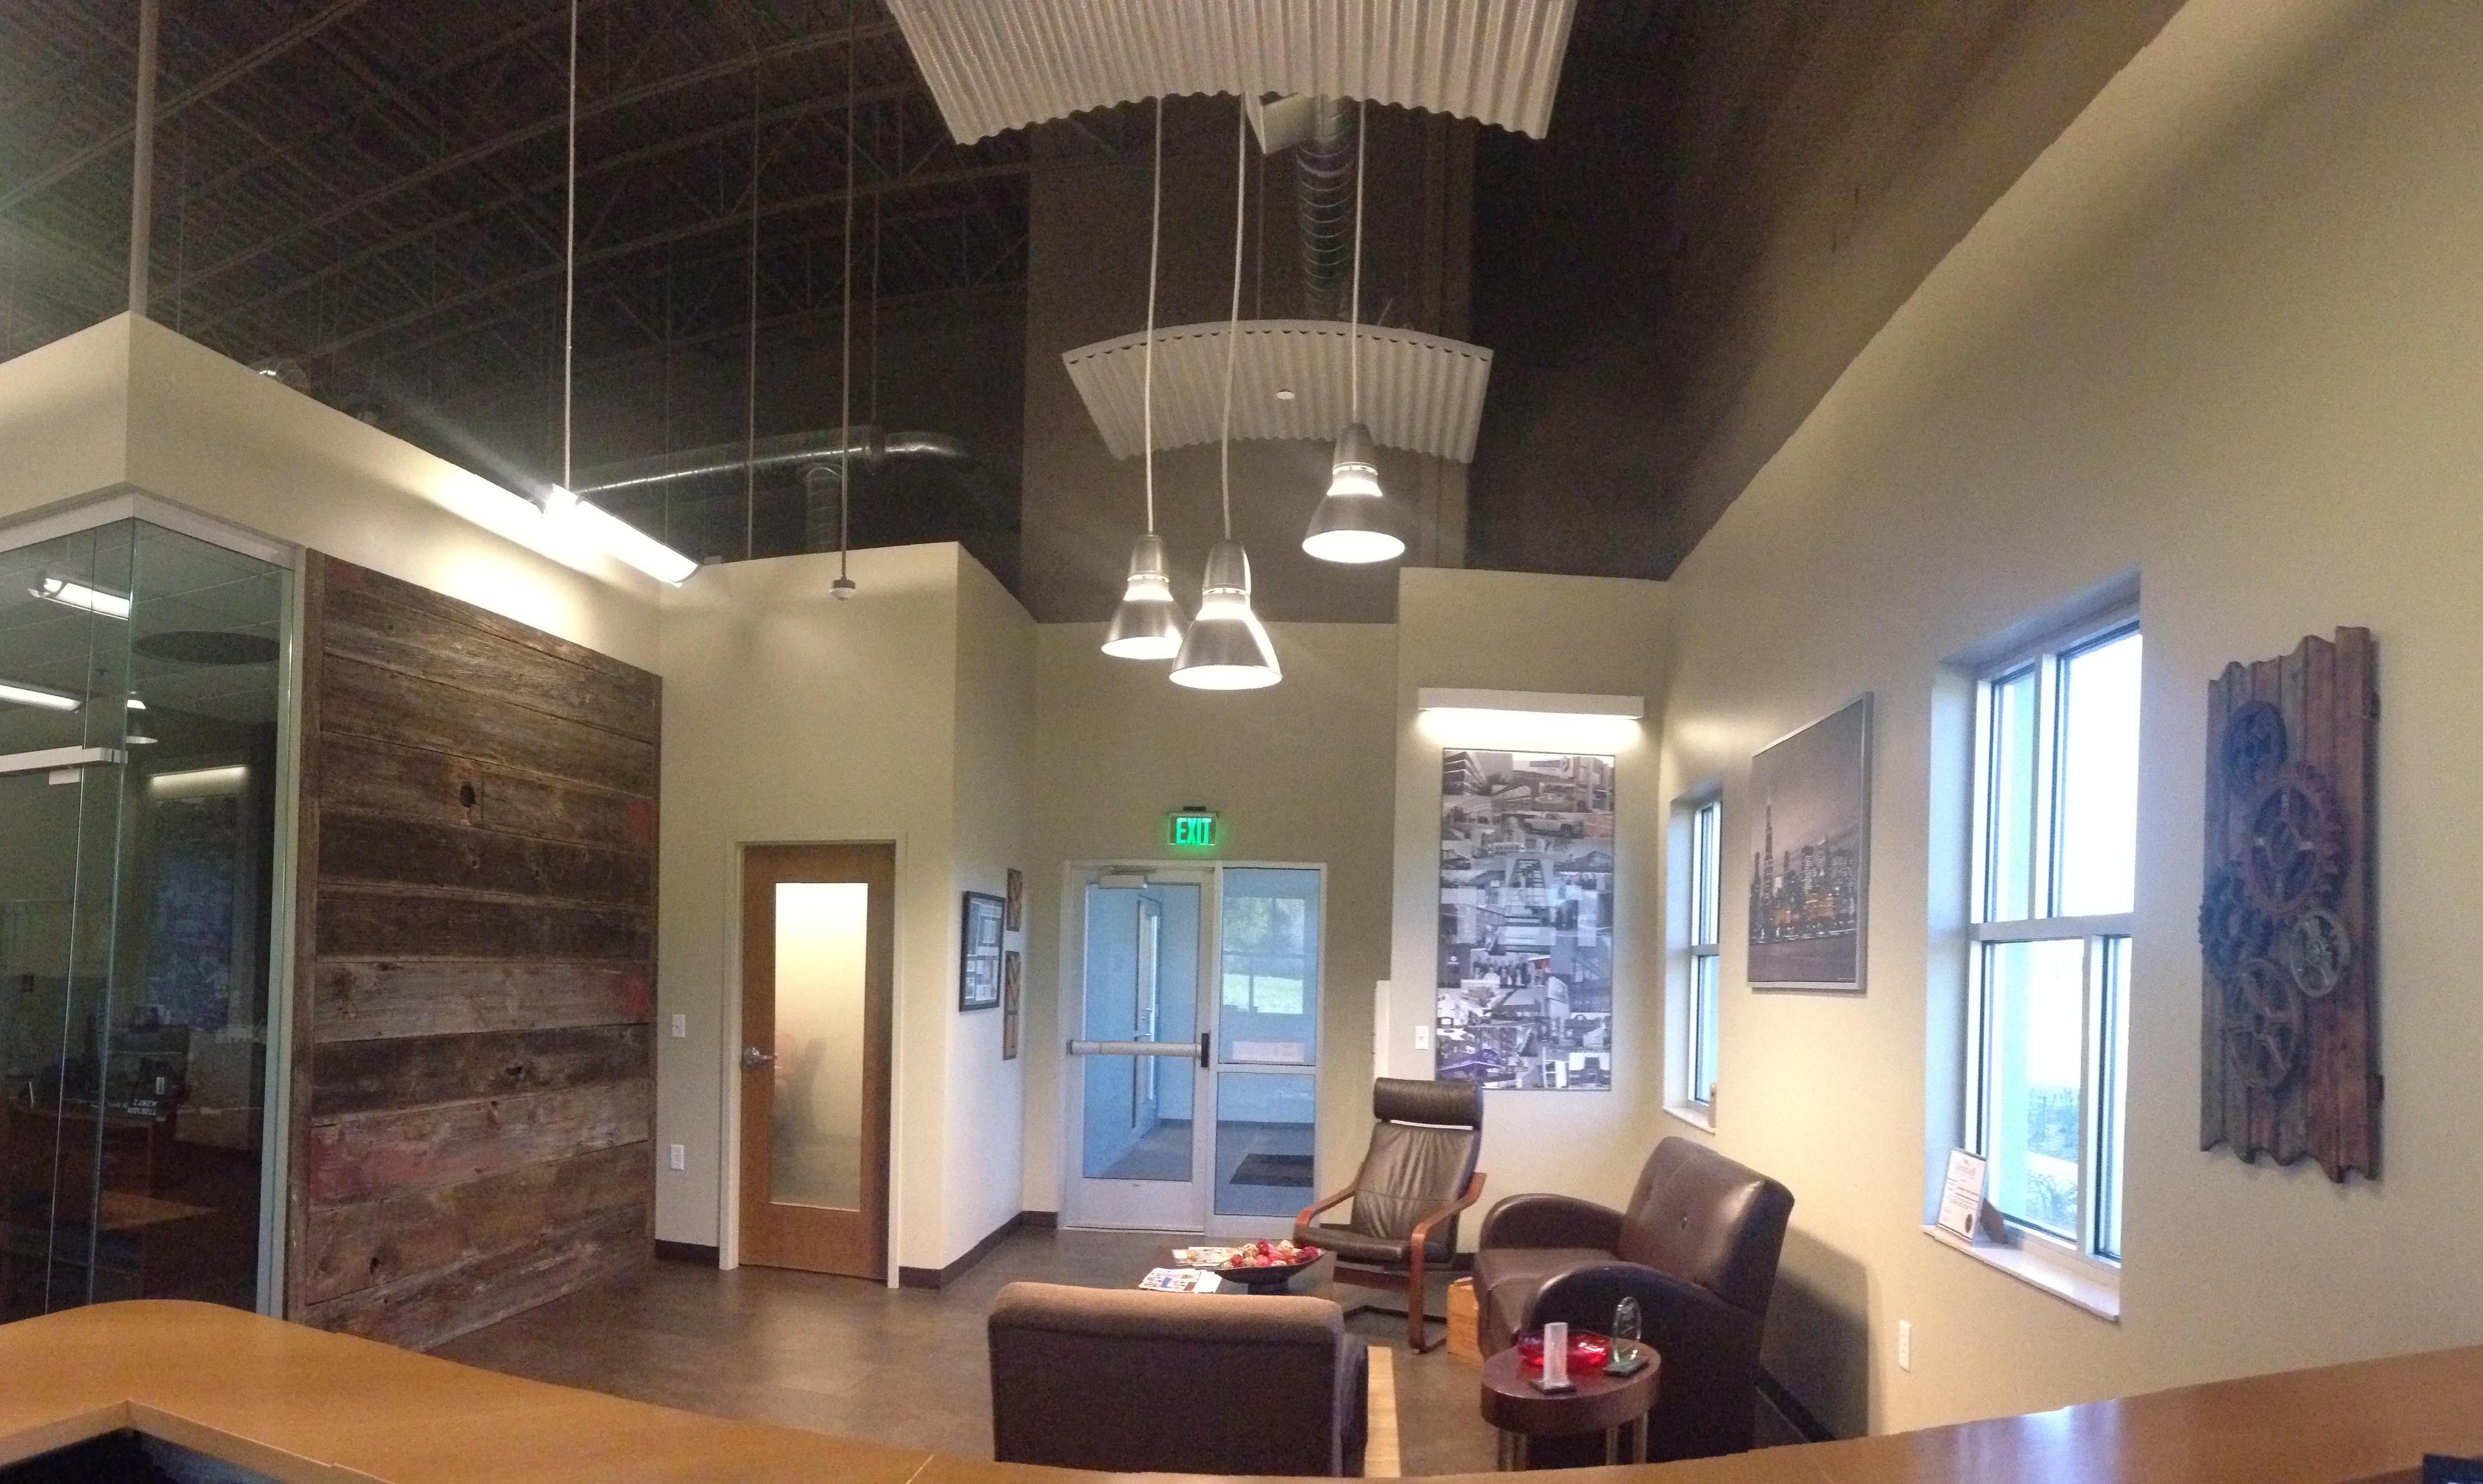
And now, enjoy these final comparison images, a panoramic shot of our reception area when the feature wall was blank and the finished reception area complete with reclaimed barn wood feature wall. The images were taken from different perspectives, but you can see the blank wall at the left of the top image, as compared to the completed feature wall in the bottom image.
Before
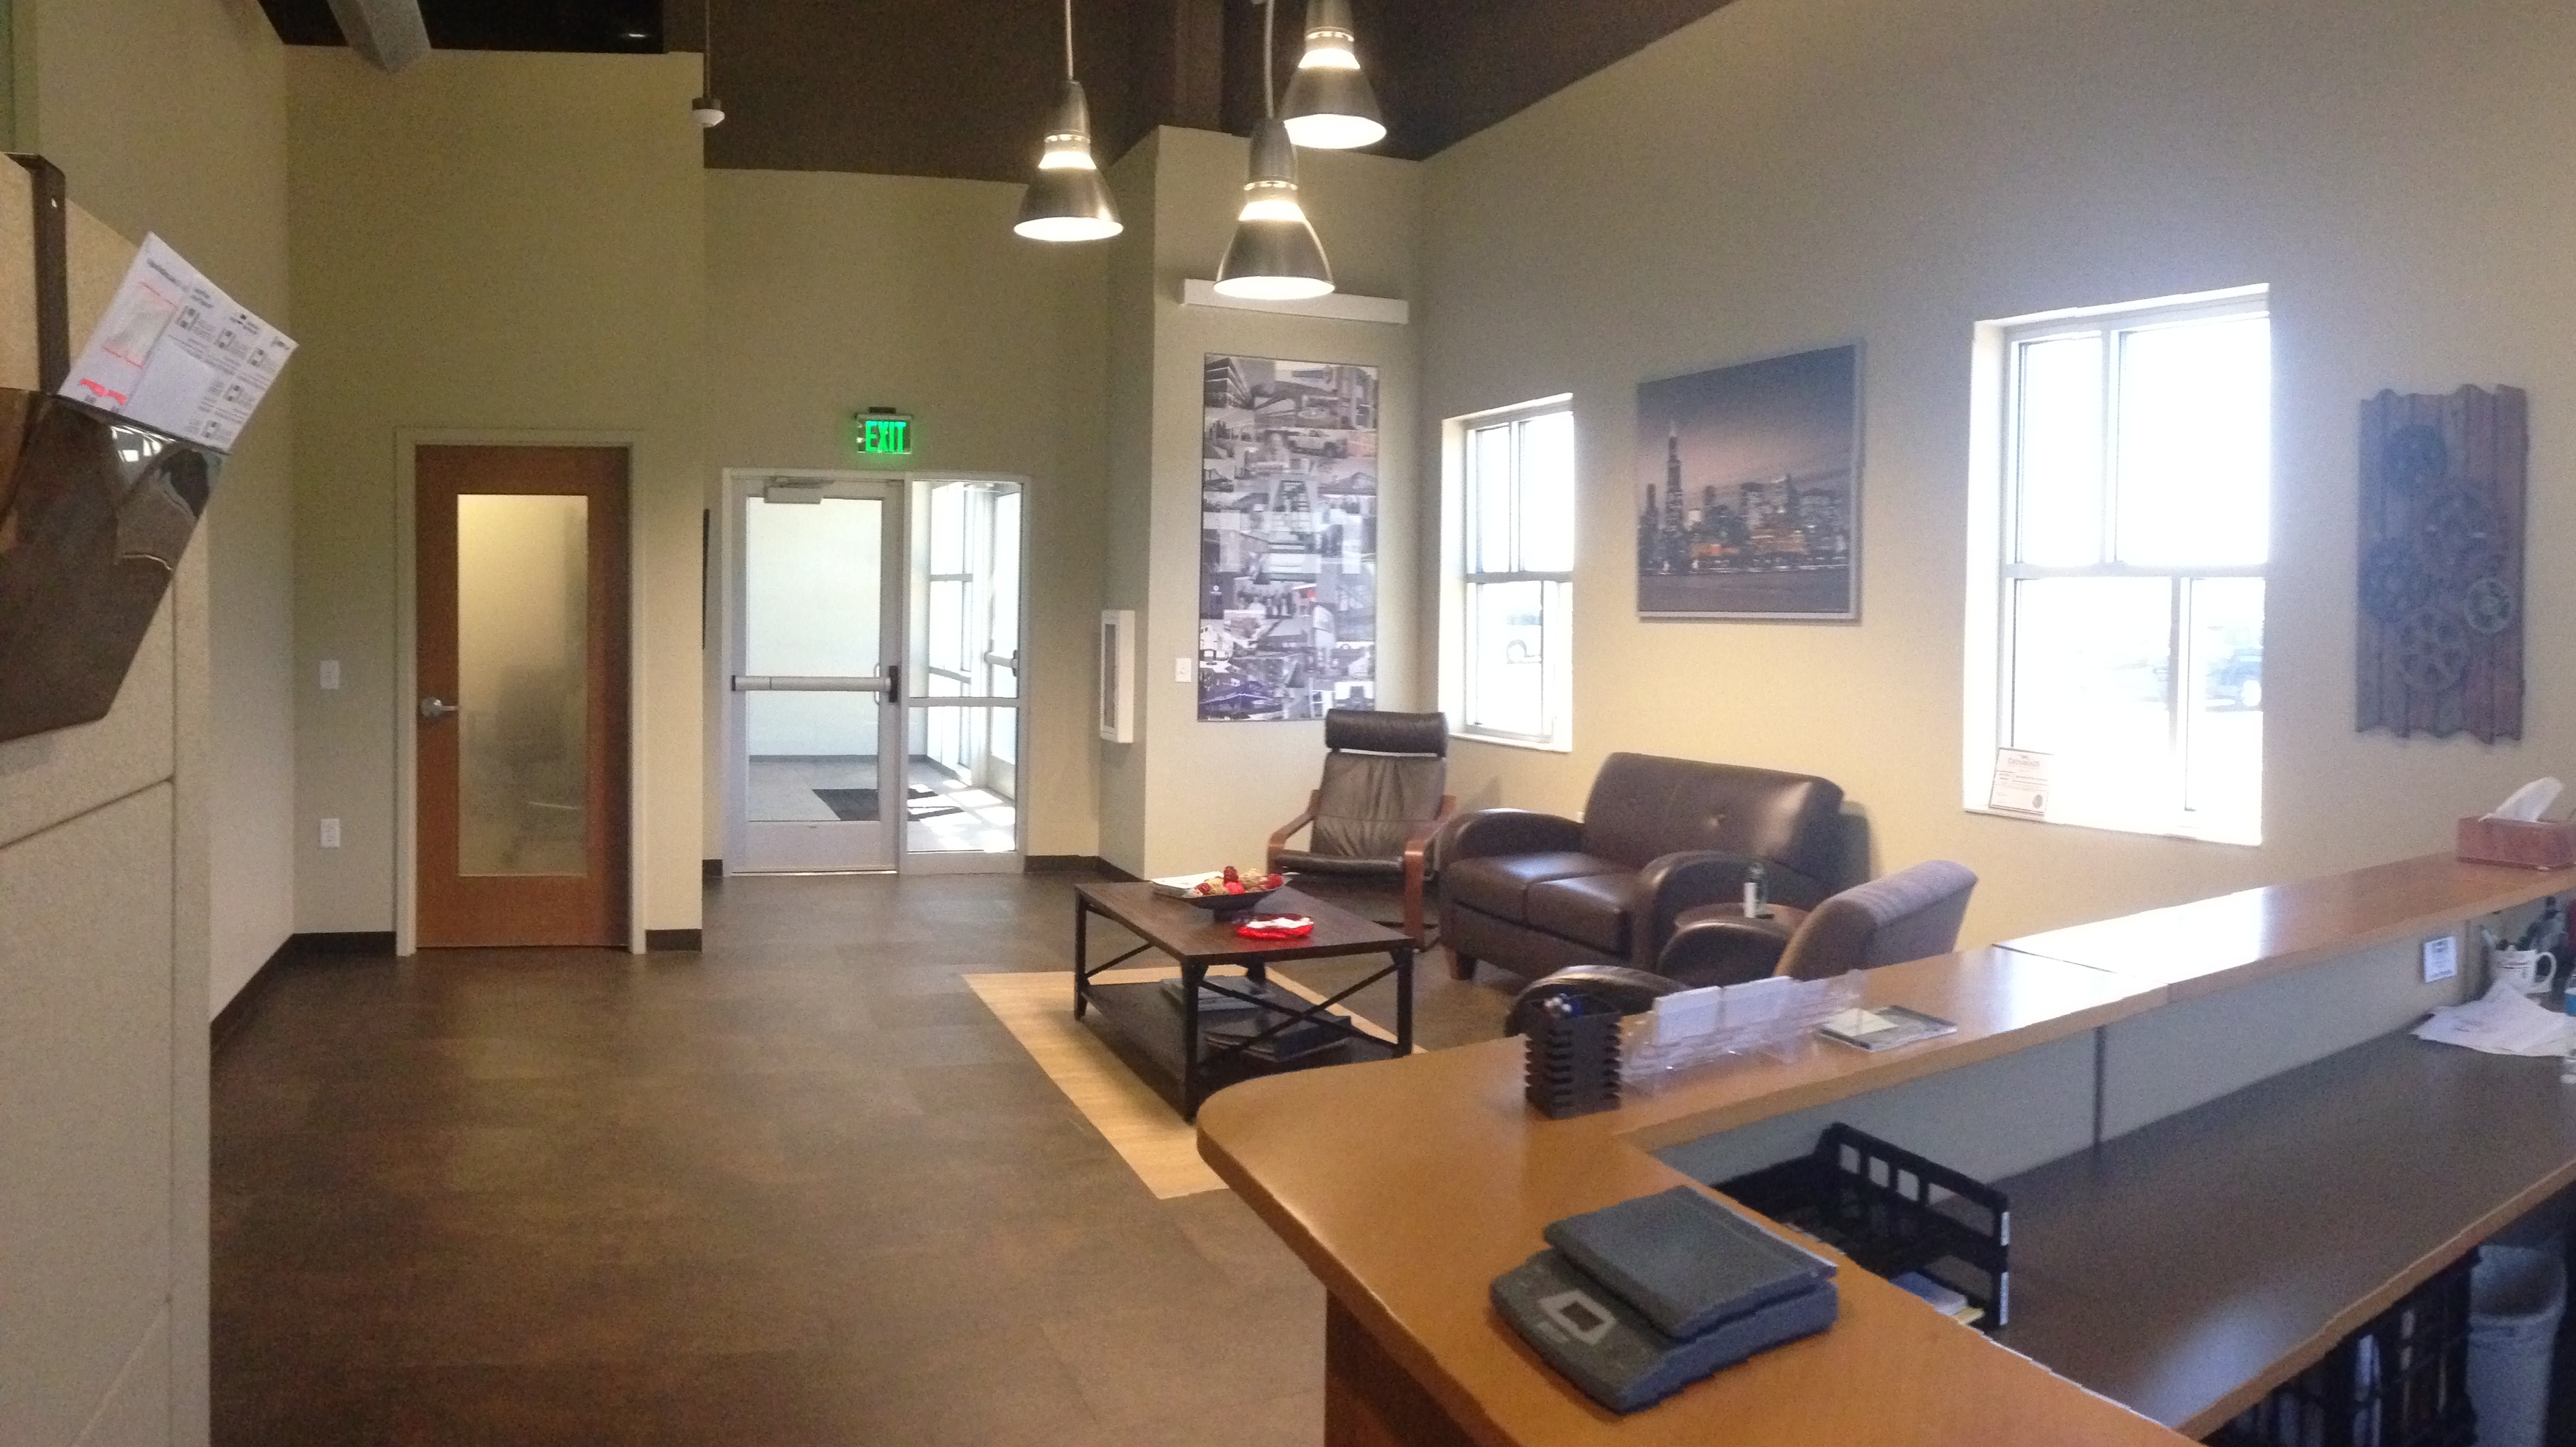
After